Pillow: Image Manipulation Basics

Updated: May 2
In this post, I want to walk through a small but practical Python script I wrote recently. It grew out of a fairly mundane situation: I was working with a directory structure that followed a consistent pattern, and I needed a lightweight way to traverse and process it without turning the script into a tangle of special cases. The structure looked roughly like this:
Each numbered directory contains three images: two square PNG files showing a product variant from the front and the back, and a third image depicting the item in use. This last image can have an arbitrary resolution and aspect ratio; throughout this post, we’ll refer to it as the action view of the product. This was for a small online shop.
The goal is to transform these inputs into …
The output file names are parameterised by a Name value, which is supplied as a command-line argument when invoking the script.
For each input directory, the script generates files of the form Name_Promotional_{i}.jpg. These promotional images are composites: the front and back views are each scaled to 1600 × 1600 px and placed on a white background within a 2000 × 3000 px JPEG canvas. There is some overlap, but both front and back view have ample of transparent bits on the edges.
In addition, the script produces a file named Name_Promotional_Action_{i}.jpg. This is simply a JPEG version of the original action-view PNG, scaled to 50% of its original size and flattened onto a white background if the source image contains transparency.
Once all target images have been created successfully, the original source files are removed. They are treated as temporary inputs only and are not needed after the transformation step.
The Setup
To keep the script simple and robust, we’ll rely on two standard-library tools: argparse for handling command-line arguments, and pathlib for working with file system paths in a clean, platform-independent way. With those choices in place, the code naturally starts like this:
We begin by importing the required libraries and defining the target dimensions for both the square input images and the final composite output. The argparse module simplifies extracting the Name parameter from the command line, while pathlib provides a more convenient and expressive way to work with directories and files throughout the script.
The Image Package: Pillow
For loading and manipulating images, we rely on the Pillow library. The first helper function we introduce is responsible for loading a PNG file into memory and preparing it for further processing. As part of that step, the original file is deleted from disk once it has been successfully loaded, ensuring that only the in-memory image object remains for subsequent operations.
Note that calling path.unlink() permanently removes the image file we just loaded from disk. The helper function open_copy_delete_png therefore returns only the in-memory image object created by Pillow; once that function finishes, the original file no longer exists.
With the images safely loaded, the next step is to scale the two square views to their target size. For this, we use …
This part is fairly straightforward: we load the image from the given path using the helper function defined earlier, verify that it is square, resize it to the target dimensions, and return the resized image object. With both views now rescaled to a consistent size, we can move on to composing them into a single promotional image.
At this point, we load and immediately resize both the front and back view images. We then create a new white canvas and place the front view in the top-left corner and the back view in the bottom-right corner. The resulting composition is saved as a JPEG. Because the canvas is already white, there are no transparency issues to worry about during the conversion.
The Logistics
With all the individual pieces in place, we can now put everything together into a single, end-to-end workflow.
This function is fairly straightforward. It begins by defining the source and output directories. If the output directory does not yet exist, it is created automatically.
The function then iterates over the numbered subdirectories. In each one, it looks for both a front and a back view image. If either of these is missing, that directory is skipped. If both are present, the images are composed and saved using the compose_images helper function.
Finally, the function looks for the action view image. If it is found, the image is opened, scaled to 50% of its original size, and saved as a JPEG on a white background.
Because all images are loaded via the open_copy_delete_png helper functions, the original files are removed as soon as they are successfully read into memory. The only exception is the case where a directory contains only one of the front or back view images. In that situation, composition is skipped, and the remaining image file is left untouched.
Some left over logic
Finally, we need three small helper functions that were used throughout the implementation above. First there is
This helper simply searches for the next file that matches a given filename pattern. In this case, it’s used to locate image files with names of the form Front*.png and Back*.png within a directory. This is much cleaner than trying to find the expressions oneself with regular expressions. Then we have
Similar to the previous helper, this function searches a directory for the first image whose filename does not start with Front or Back. By exclusion, this image is treated as the action view. Finally, when saving the action view as a JPEG, we need to account for the possibility that the source image contains transparency. Since JPEG does not support alpha channels, any transparent regions must be flattened against a white background before saving. For this, we use …
This helper simply ensures that the image is in RGBA mode, pastes it onto a same-sized canvas with a white background, and then saves the resulting image as a JPEG.
Main
Finally, in the main function, we use argparse to extract the Name parameter that determines how all generated files are named and grouped.
Images made easy
The Pillow library makes this kind of image processing pleasantly straightforward. In practice, writing this small script took far less time than manually working through a couple of hundred product image triples—composing front and back views into promotional JPEGs and converting each action view into a properly flattened JPEG by hand.
That said, the code could certainly be streamlined further. With a bit of refactoring, for example, the save_as_jpeg_on_white and compose_images functions could be merged. Conceptually, they already do almost the same thing: take one or more images, paste them onto a white canvas, and save the result as a JPEG. The main change would be to move the image-loading logic out of compose_images and pass image objects directly instead of file paths, making the function more general and reusable.
Still, it’s worth resisting the temptation to over-engineer solutions like this. For a one-off script or a small internal tool, clarity and correctness usually matter more than perfect abstraction. If the code is easy to read, easy to adjust, and does the job reliably, that’s often the right place to stop.
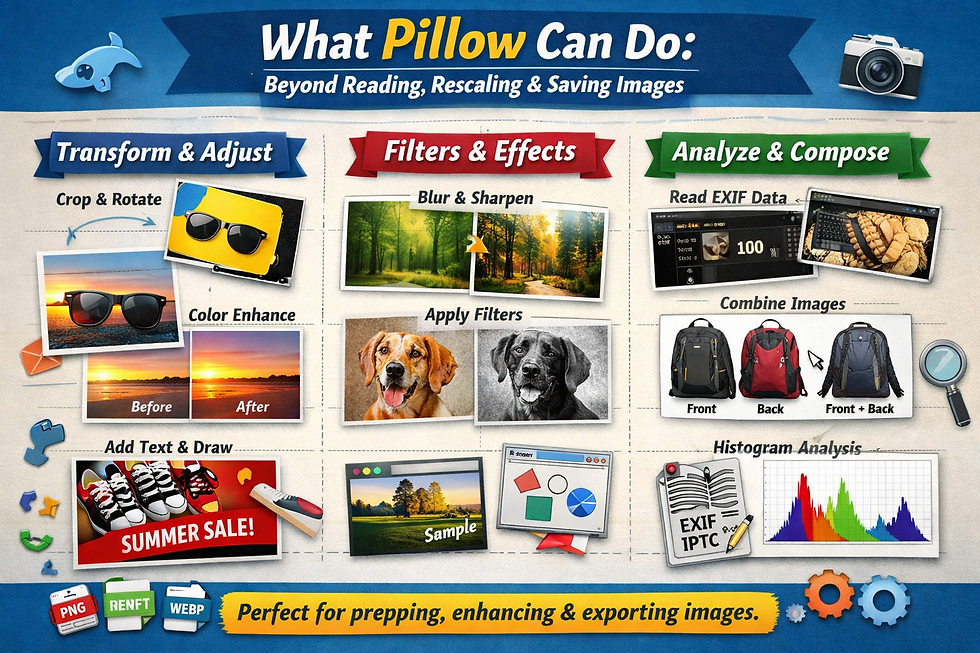
It is also clear that we are only scratching the surface of what pillow can do. The library has a vast amount of methods to for example
Cropping and padding
Rotation and flipping
Affine and perspective transforms
Grayscale and palette reduction
Color enhancement
Layered compositing
Built-in filters like blur, Gaussian blur, sharpen, edge detection
and many more...


Comments